Guide · Guides · Retro Gaming · Retro consoles
How to Add an SSD to the SuperStation One and Switch It to Stock MiSTer
The SuperStation One already runs MiSTer. How to add an NVMe SSD through the SuperDock, move to a stock MiSTer setup with update_all, and get back to Retro Remake's image.
https://averagetechnerds.com/superstation-one-ssd-stock-mister-guide/
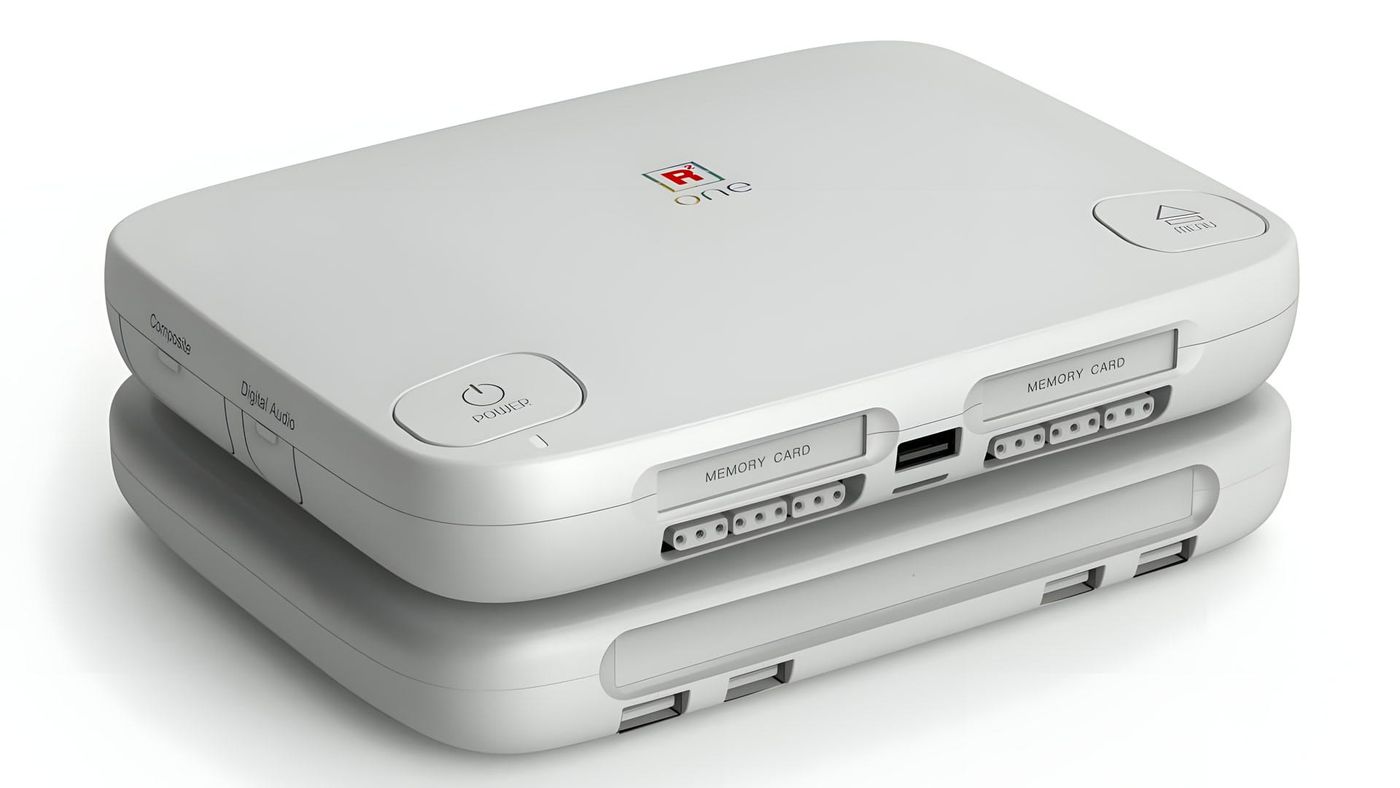
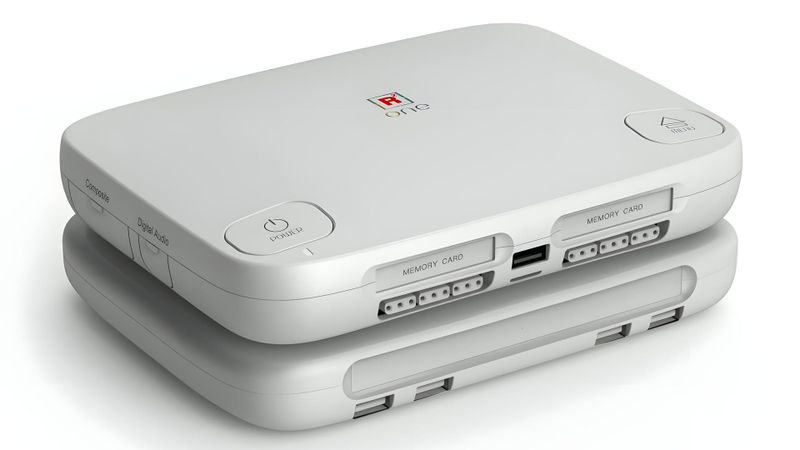
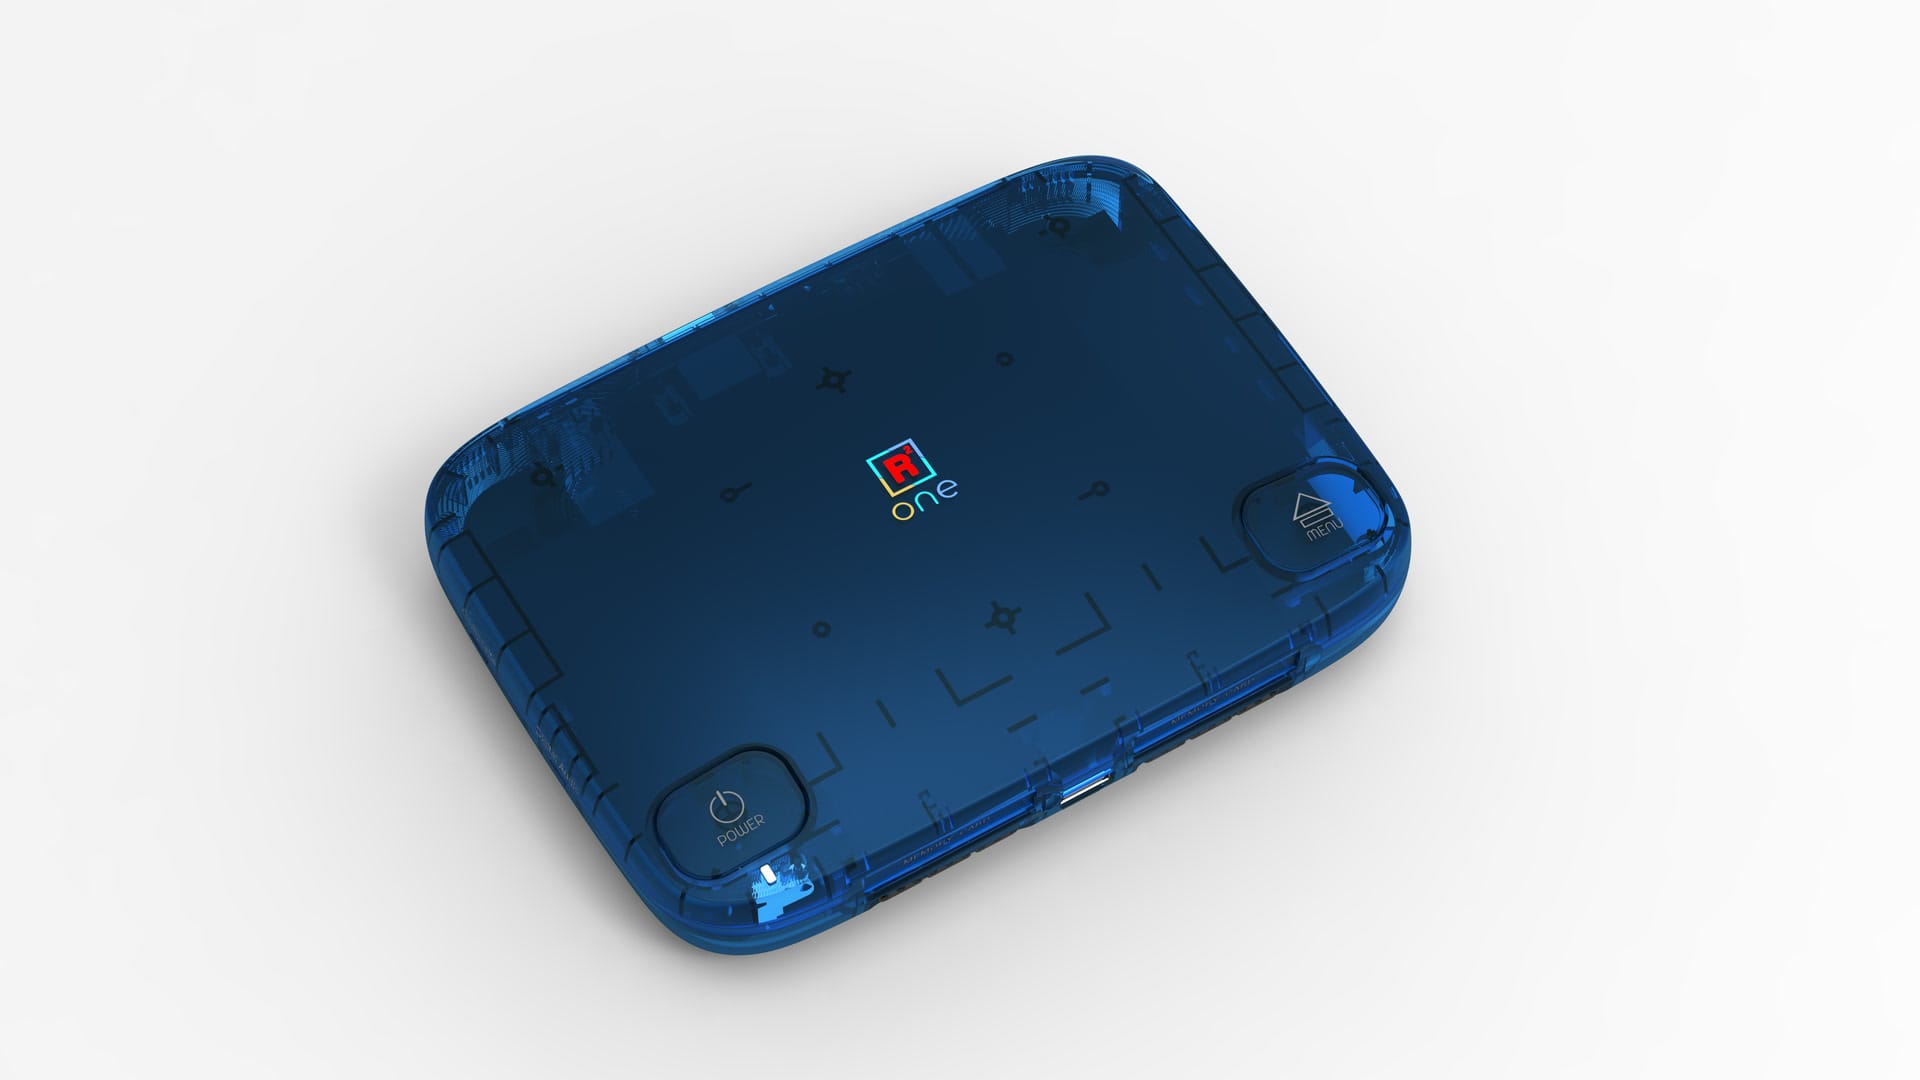
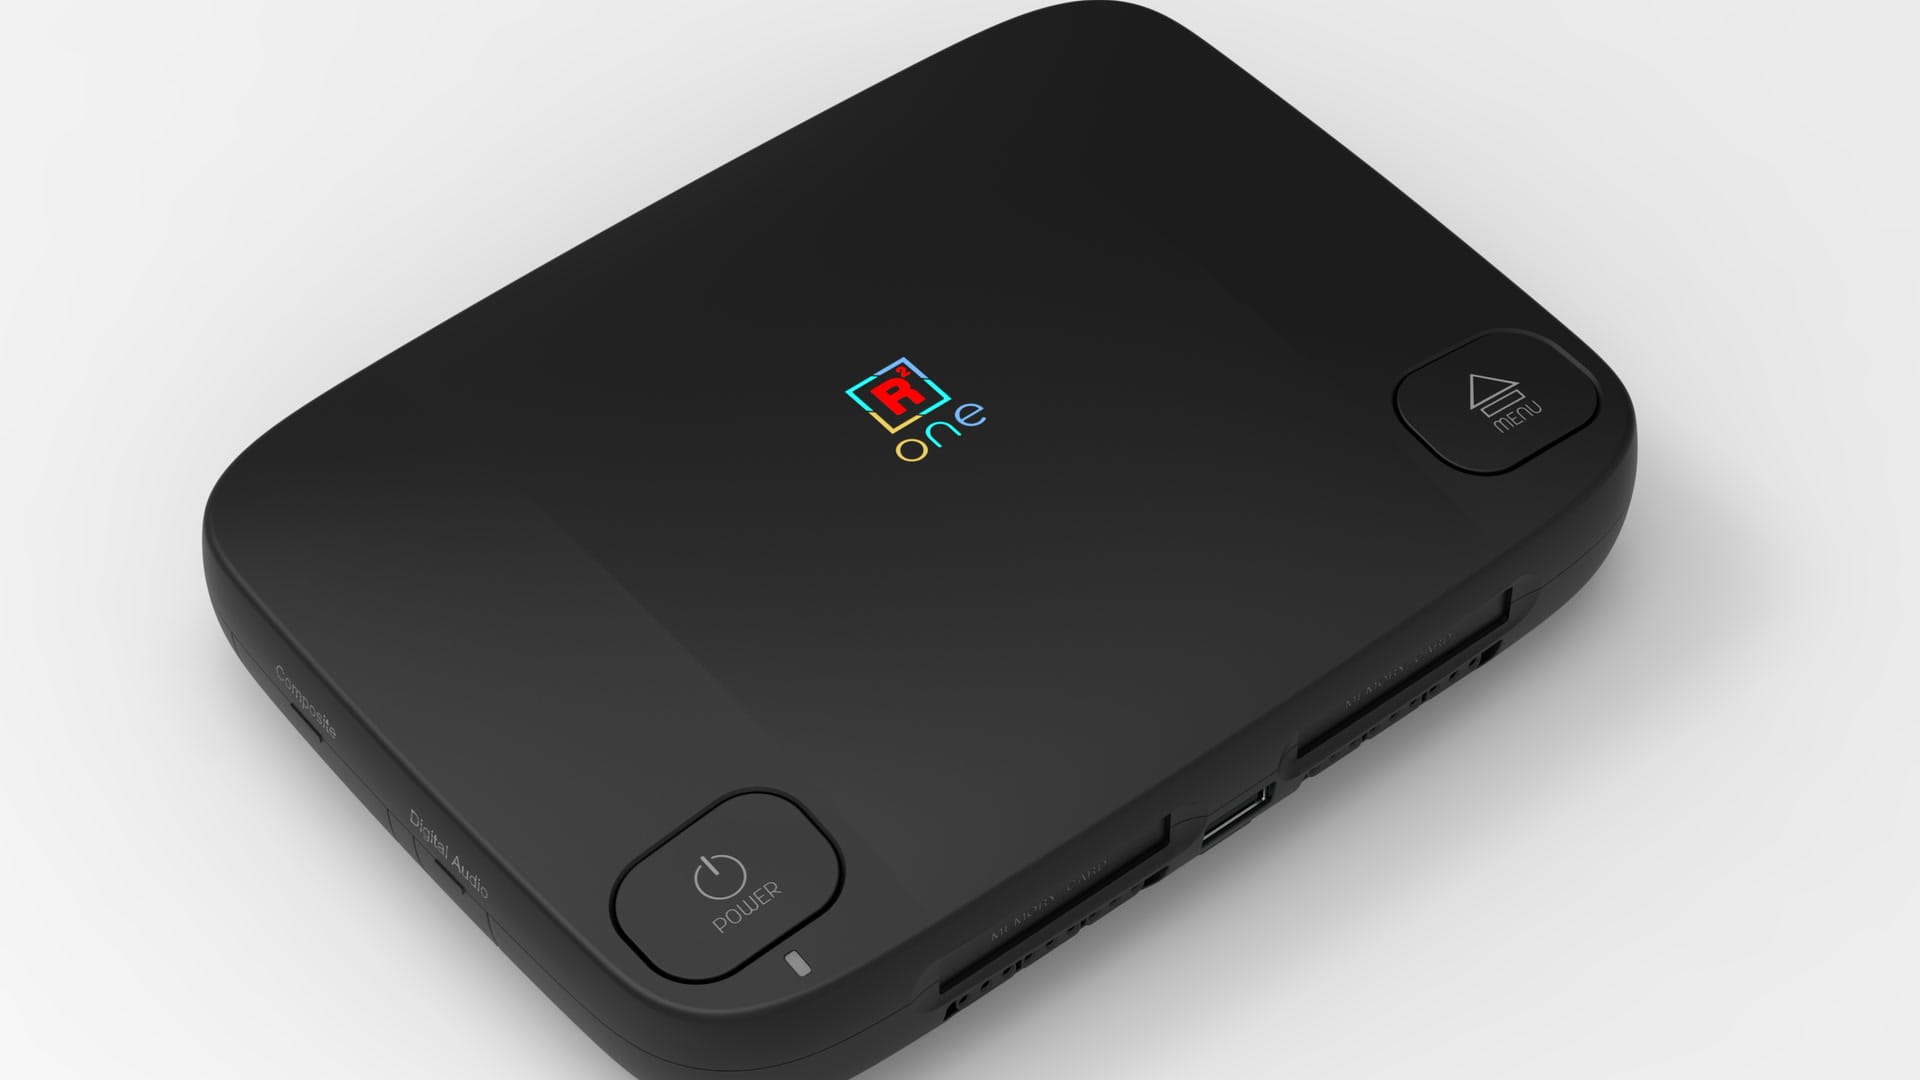
The SuperStation One already runs MiSTer. That’s the part a lot of people miss. Under the PlayStation-shaped shell and Retro Remake’s menus, it’s the same open-source FPGA setup a MiSTer Pi runs, with a few extras layered on top. So moving it to stock MiSTer is a smaller step than it sounds, and adding an SSD through the SuperDock is mostly about picking the right drive. Mine is the original translucent blue one, sitting on its SuperDock, and this guide walks through both jobs: the drive first, then the firmware, then how to get back to Retro Remake’s setup if you change your mind.
What this actually does
The SuperStation One is an FPGA console. An FPGA is a chip that can be rewired, and MiSTer uses that to rebuild old consoles at the hardware level, one “core” per system, instead of running them in software the way Sony’s PlayStation Classic did. Pick the PlayStation core and the chip behaves like a PlayStation; pick another and it becomes that system. Your games are files it loads from storage.
That’s where the SSD comes in. Out of the box, everything lives on the microSD card: MiSTer itself, the cores and your games. CD-based games take hundreds of megabytes each, so a big PlayStation library fills a card fast. An SSD in the SuperDock gives the games their own drive, up to 4 TB in owners’ reports, while MiSTer and its system files stay on the card.
Then there’s the firmware. Going stock trades Retro Remake’s version of MiSTer for the plain one that every MiSTer guide out there is written for. Your cores come with you. So do your games. What stays behind is Retro Remake’s own extras, and they’re worth a look before you flash anything.
Before you start
Putting the drive in is safe. It doesn’t touch your games. Flashing a new card is different, because that wipes everything on it, so the card gets backed up first. For the whole job you’ll want a computer with a microSD card reader and a small screwdriver for the dock’s NVMe cover. You’ll also need some way to hook an M.2 drive up to that computer for formatting, and a cheap USB enclosure or the dock’s own PC mode can handle that. And a good power supply.
Don’t skip that last one. An SSD adds to what the console pulls, and when a drive keeps dropping out, the power supply is the first thing owners get told to check. A 9 V, 3 A USB-C Power Delivery charger is what you want, and a Switch 2 or Steam Deck charger is known to work. Just keep the original Nintendo Switch charger away from it. Retro Remake’s documentation warns against that one outright.
Picking a drive
The SuperDock has one internal M.2 slot, and Retro Remake’s store lists it as NVMe, size 2280, the standard 80 mm stick. NVMe is the kind that talks over PCIe; the older SATA M.2 drives look almost identical and won’t work here, so check the listing before you buy. Owners have reported shorter 2230 and 2242 drives working, but nobody has documented how they’re held in place, so 2280 is the safe pick.
The bigger catch is power. The community drive list that Retro Remake’s documentation links to puts it bluntly: drives that fail in the dock tend to be power-hungry ones, and you should look for a drive rated under 5 W at its peak. TechPowerUp’s SSD database lists that figure for most drives. Speed isn’t the problem, power is. The list names the WD SN850X, Samsung 9100 Pro, FireCuda 530R and Crucial P310 as drives to avoid, and the SN850X is the one owners have reported not working.
If you want a starting point, owners keep a list of drives that worked for them, with the WD SN770 and Samsung 990 EVO Plus on it and sizes up to 4 TB. It’s owner reports, though. Its maintainer has also closed it to new entries, so newer drives won’t show up. A match is a good sign. It’s no guarantee.
Getting the drive ready
The drive needs to be exFAT, one partition, before MiSTer will use it. As far as I can find, the console won’t format it for you, so it’s easiest to do on your computer first.
Put the drive in a USB enclosure, plug it into your computer, and format it as exFAT. On a Mac that’s Disk Utility, with the drive erased as exFAT using the Master Boot Record scheme, which keeps it to one partition. On Windows, a brand-new drive first needs initialising and a volume creating in Disk Management, and then you format that volume as exFAT. While it’s connected, create a folder called games at the top of the drive.
There’s a second way that skips the enclosure. The SuperDock has a USB-C port labelled PC Mode, and according to RetroRGB it lets a computer use the dock’s drive, disc drive and USB ports directly. Retro Remake’s own notes for the dock’s remote say to keep the console powered off when the dock is connected to a PC, so do the same here.
Putting it in the dock
Unplug the console first. The console is fastened to the dock by two bolts, so turn the stack over, loosen them by hand or with an Allen key, and lift the console off. The dock ships with its NVMe cover already installed, and Retro Remake doesn’t document the cover’s screws, so check yours before you start. Behind it, it’s a standard M.2 install:
- Remove the screws holding the NVMe cover, and lift the cover off.
- Slide the drive into the slot at a slight angle, contacts first, until it’s fully seated.
- Press the far end down flat and secure it at the end of the slot, the way most M.2 slots work. If your dock doesn’t have a screw there, an M.2 screw is a cheap part to pick up.
- Put the cover back on, and set the console back on the dock.
Two small buttons sit inside the slot area, labelled BOOTSEL and MCU RST. They’re for updating the dock’s remote receiver, so leave them alone. If your drive has a big heatsink, check that the cover still closes: one owner ran their drive with the heatsink removed, though another reports one working with a heatsink on.
Telling MiSTer where your games are
MiSTer sees the dock’s drive the same way it sees a USB drive, and it looks for the same folder names it uses on the SD card. PlayStation games go in games/PSX, Saturn in games/Saturn, and so on, all inside the games folder you made. When a core’s folder exists on both the SSD and the card, MiSTer’s own documentation says the USB copy wins, so you can move a library across one system at a time. Move each system’s whole folder, BIOS files included: once games/PSX exists on the SSD, the core stops looking in the card’s copy.
Leave the system files where they are. Linux, the cores and the menus all stay on the microSD card, and only game content moves to the drive.
Big copies can be slow through the console itself. Several owners on that drive list loaded large libraries with the drive in an enclosure on their computer, then moved it into the dock, and one reported long transfers stalling over the network. If you’re filling a 2 TB drive, the enclosure is worth the extra step.
If you use MiSTer’s updater to download free content, you can also point it at the SSD. Open downloader.ini in the card’s root (create it if it isn’t there, with a [mister] line at the top) and, under the [mister] section, set storage_priority = 'prefer_external'. The Downloader documentation lists the options: prefer_sd is the default, prefer_external sends new files to the drive, and off turns the feature off.
What changes with stock MiSTer
The SuperStation’s card is MiSTer with Retro Remake’s extras added. There’s a pack of homebrew games, open-source PlayStation BIOS files (the startup code the PlayStation core needs to boot), and video settings tuned for the console’s analog outputs. There’s Zaparoo, which launches games from NFC tags, and MiSTer Favorites for pinning the games you like to the main menu. And it runs its own build of Linux with extra fixes for the Wi-Fi, Bluetooth and the dock. Console Mode, the PlayStation-style menu, is a separate front end on top. A fresh stock card starts without all of it.
So on stock MiSTer you keep every core, the MiSTer menu, the PS1 controller ports in the PlayStation core and your SSD. You lose Retro Remake’s extras and defaults. And you gain the standard setup that every MiSTer guide out there assumes, with update_all’s full menu of cores, tools and update choices, instead of waiting on Retro Remake’s next image. Its last one came out July 24.
Console Mode doesn’t have to go, either. It installs on a regular MiSTer card through its own script, so you can switch to stock and put it back later if you miss it.
Back up first
Put the SuperStation’s microSD card in your computer and copy three folders somewhere safe: games, saves and savestates. That’s what Retro Remake’s installer tells you to keep, and it’s the bit you can’t get back.
I’d grab a few more while the card is in. The config folder holds your controller mappings and core settings, and Mr. Fusion will copy a config folder from the card into the new install if you put it back on the card’s root after flashing. The MiSTer.ini files, linux/wpa_supplicant.conf with your Wi-Fi details, and the ConsoleMode and Scripts folders are worth saving too.
Switching to stock MiSTer
Mr. Fusion is MiSTer’s official installer image. You flash it to the card, the console boots it, and it expands the card and installs a fresh MiSTer by itself. Ms. Fusion is a version that adds update_all for you, which saves a step.
- Download the latest Mr. Fusion release, version 2.10 as I write this, or Ms. Fusion.
- Flash it to the microSD card with balenaEtcher or Rufus. Any card from 2 GB up works, but you’ll want room for saves.
- Optional: copy your saved
configfolder to the card’s root, and add yourwpa_supplicant.confif you want Wi-Fi from the start. - Put the card in the SuperStation and turn it on. Mr. Fusion does its work and reboots into the MiSTer menu.
- Copy your
games,savesandsavestatesfolders back onto the card, or onto the SSD for games.
Then set up update_all, if you used Mr. Fusion. Put update_all.sh from the update_all page in the card’s Scripts folder, open the MiSTer menu, go to Scripts and run it. The first run takes about 15 minutes. If you press up during its countdown, you get its settings screen, where you choose what to download, then save.
Let update_all update Linux on that first run. Mr. Fusion 2.10 still installs an older MiSTer Linux, one without the fix for docks that stall on reboot when the SSD slot is empty. MiSTer’s official Linux has that fix now, and update_all’s default settings already point to the newer version. So the first update should bring it along. If you’d rather drop it in by hand, Retro Remake’s 1.1 installer release has a standalone linux.img.
After the switch
A few things behave differently afterwards. If you use composite or S-Video, some cores may show black and white on a fresh MiSTer setup, because the SuperStation’s colour encoding for those outputs isn’t in every core. Retro Remake’s documentation has the fix: flip DIP switch 3 up and pick its S-Video settings file. HDMI, RGB and component aren’t affected. The same documentation has replacement MiSTer.ini files if you see warnings about old settings after running update_all.
Zaparoo, the NFC launcher, comes back through update_all’s tools menu, and you turn it on by running zaparoo from Scripts. Whether stock Zaparoo picks up the SuperStation’s built-in NFC reader without Retro Remake’s setup isn’t documented yet, so that one’s worth testing before you rely on it.
Menu navigation with a PlayStation controller is a Console Mode feature, so on the stock menu you’ll want a USB or Bluetooth controller, or the SuperDock’s remote. The remote works as a keyboard, so the MiSTer menu understands it either way. And if you want Console Mode back, run Install_Console_Mode.sh from its GitHub page through the Scripts menu, and copy the release’s extra linux.img and zImage_dtb files into the card’s linux folder if its notes ask for them.
Going back
Retro Remake keeps its setup one flash away. Download the latest image from its SD Card Installer page, version 1.2, either the standard image or the Console Mode one. Flash it with balenaEtcher or Rufus, put the card in, and let the automatic installer run. It reboots into MiSTer when it’s done, and if it doesn’t, flashing it again usually sorts it out.
Then copy games, saves and savestates back, and you’re where you started, SSD and all.
On the shelf
Retro consolesSee the whole story →Nerd Alert
Your Turn
What are YOUR thoughts
What have your experiences been? Let us know.